Posts

'You are FABULOUS!' - card

Image
#rainbow #fun #pride Hi everyone, so this month is pride month, and I thought I'd make a rainbow card in celebration! So rainbows are pretty awesome, we see rainbows thanks to the Sun, rain and the 'magic' of physics! Ok, so it's not magic, but close enough. But you know what's actually magic? You! Being your amazing-and-inspiring self!  Now on to the card making! XD *** For the base I used a 6 1/8 x 4 1/4 inch white notecard. I used a different patterned papers that highlighted each colour of the rainbow. You can use any papers you have with the highlighted colours as follows; red, orange, yellow, green, blue and purple. I have listed the collections of the papers I used below. I cut the all the patterned papers pieces down to a length of 4 inches. For the width I tried to make sure that they were all slightly different, the exact widths I used (in descending order) are as follows: purple (1 3/16 inches), red (1 2/16 inches), green (1 inch), yellow (...

'Thank you so very much' - card

Image
#butterflies #scrapstudio #stamps Hi everyone! Here's my second blog post for the year (I promise to blog much more frequently). I haven't been blogging but I have still been papercrafting. There are number of cards I've made for friends over the past few months but haven't been documenting the process, so I have recreated them (to the best of my memory) to share here! *** For the base of the card I used a 6 1/8 x 4 1/4 inch white notecard. I used Kaisercraft's 'Scrap Studio' papers to create this card. It's just a gorgeous collection! Using one of the patterned papers from the 6 1/2 inch 'Studio scrap' paper pad, I tear it in half, and then tear along the other edge as well. This should give you a strip of patterned paper with two torn edges and is 6 1/2 inches long as shown in the figure below. Using the patterned paper with the butterflies on it I fussy cut some butterflies. I also pop out one of the sentiments from the paper p...

Update! I'm back!

Image
Hey everyone! I haven't posted in a while... 6 months in fact... but I have some cool news! A few months back I started a PhD in astrophysics! So all I need to do right now is find my work-life balance or my astrophysics and papercraft balance... I have a few projects lined up to share including cards, layouts and more!  Here's just a sneak peek of some of the stuff to come! The plan is to start posting of a regular basis (once a week) starting NOW... wish me luck! If you have comments or suggestions of what kind of projects I should make, let me know! Shanika :)

'Happy New Year 2019' - card

Image
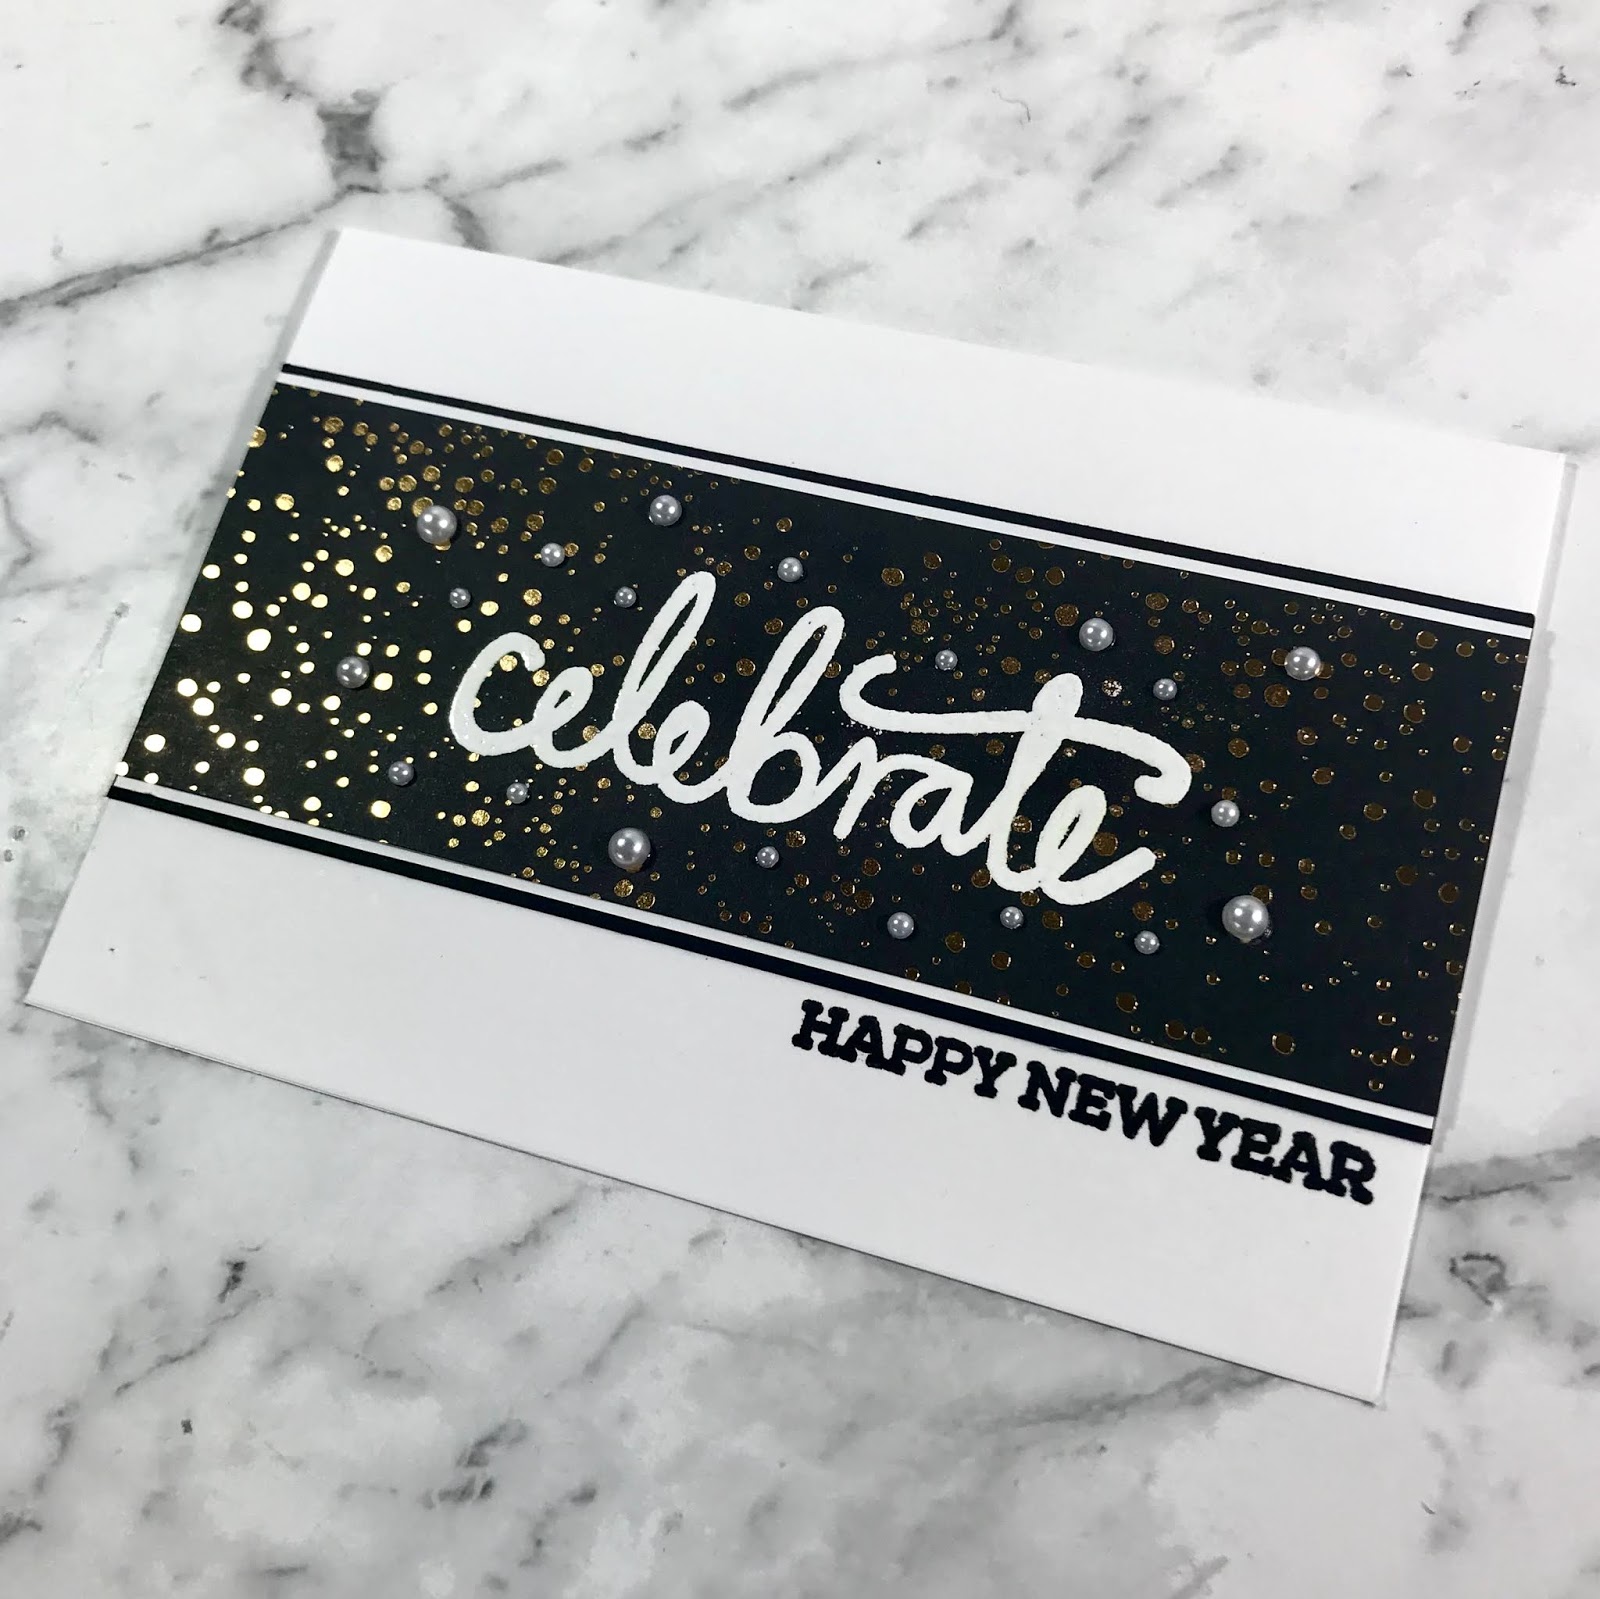
#celebrate #2019 #gold Hey everyone! So this year has just flown by! Here's a card I made for the new year celebrations. I actually used papers from a Christmas collection to make this card. For the base of the card I used a 6 x 4 1/4 inch white notecard. Then I cut a 6 x 2 3/8 inch rectangle out of black cardstock and a  6 x 2 1/4 inch rectangle out of white cardstock and adhered them such that the white piece was centred on the black piece using double-sided tape.   Next, using some patterned paper I cut a 6 x 2 1/8 inch rectangle. Then I stamped the sentiment 'celebrate' on the centre of the patterned paper rectangle using versamark ink. Then I used some white embossing powder an heat set the sentiment. Then I adhered this rectangle to the centre of the black and white rectangles. Then I adhered this to the centre of the notecard. To finish I stamped the sentiment 'happy new year' just under the middle rectangles and added some ...

'Noel, Noel' - cards

Image
#christmas #firstnoel #peace Ever needed to make a bunch of Christmas cards in a short amount of time? Well here's a bunch of cards I made in under an hour***. I'm trying to create cards that produce minimal scraps, and the design of these cards maximises the use of the patterned paper! ***In order for this card making process to be quick, you will need a paper cutter/trimmer and some pre-made notecards for the card bases, the notecards I used were 4 1/4 x 6 1/8 inches from Kaisercraft :) The 'First Noel' collection by Kaisercraft is just gorgeous, I was immediately drawn to the papers with the stunning gold foil, just look at them! Sooooo pretty! However, I thought I would challenge myself to use the papers that I typically don't reach for first. They don't stand out as much but have some adorable patterns. I used the four patterned designs shown above (from the 6.5 inch paper pad) and cut them up in the following way. To do this you will nee...

'A galactic thank you' - card

Image
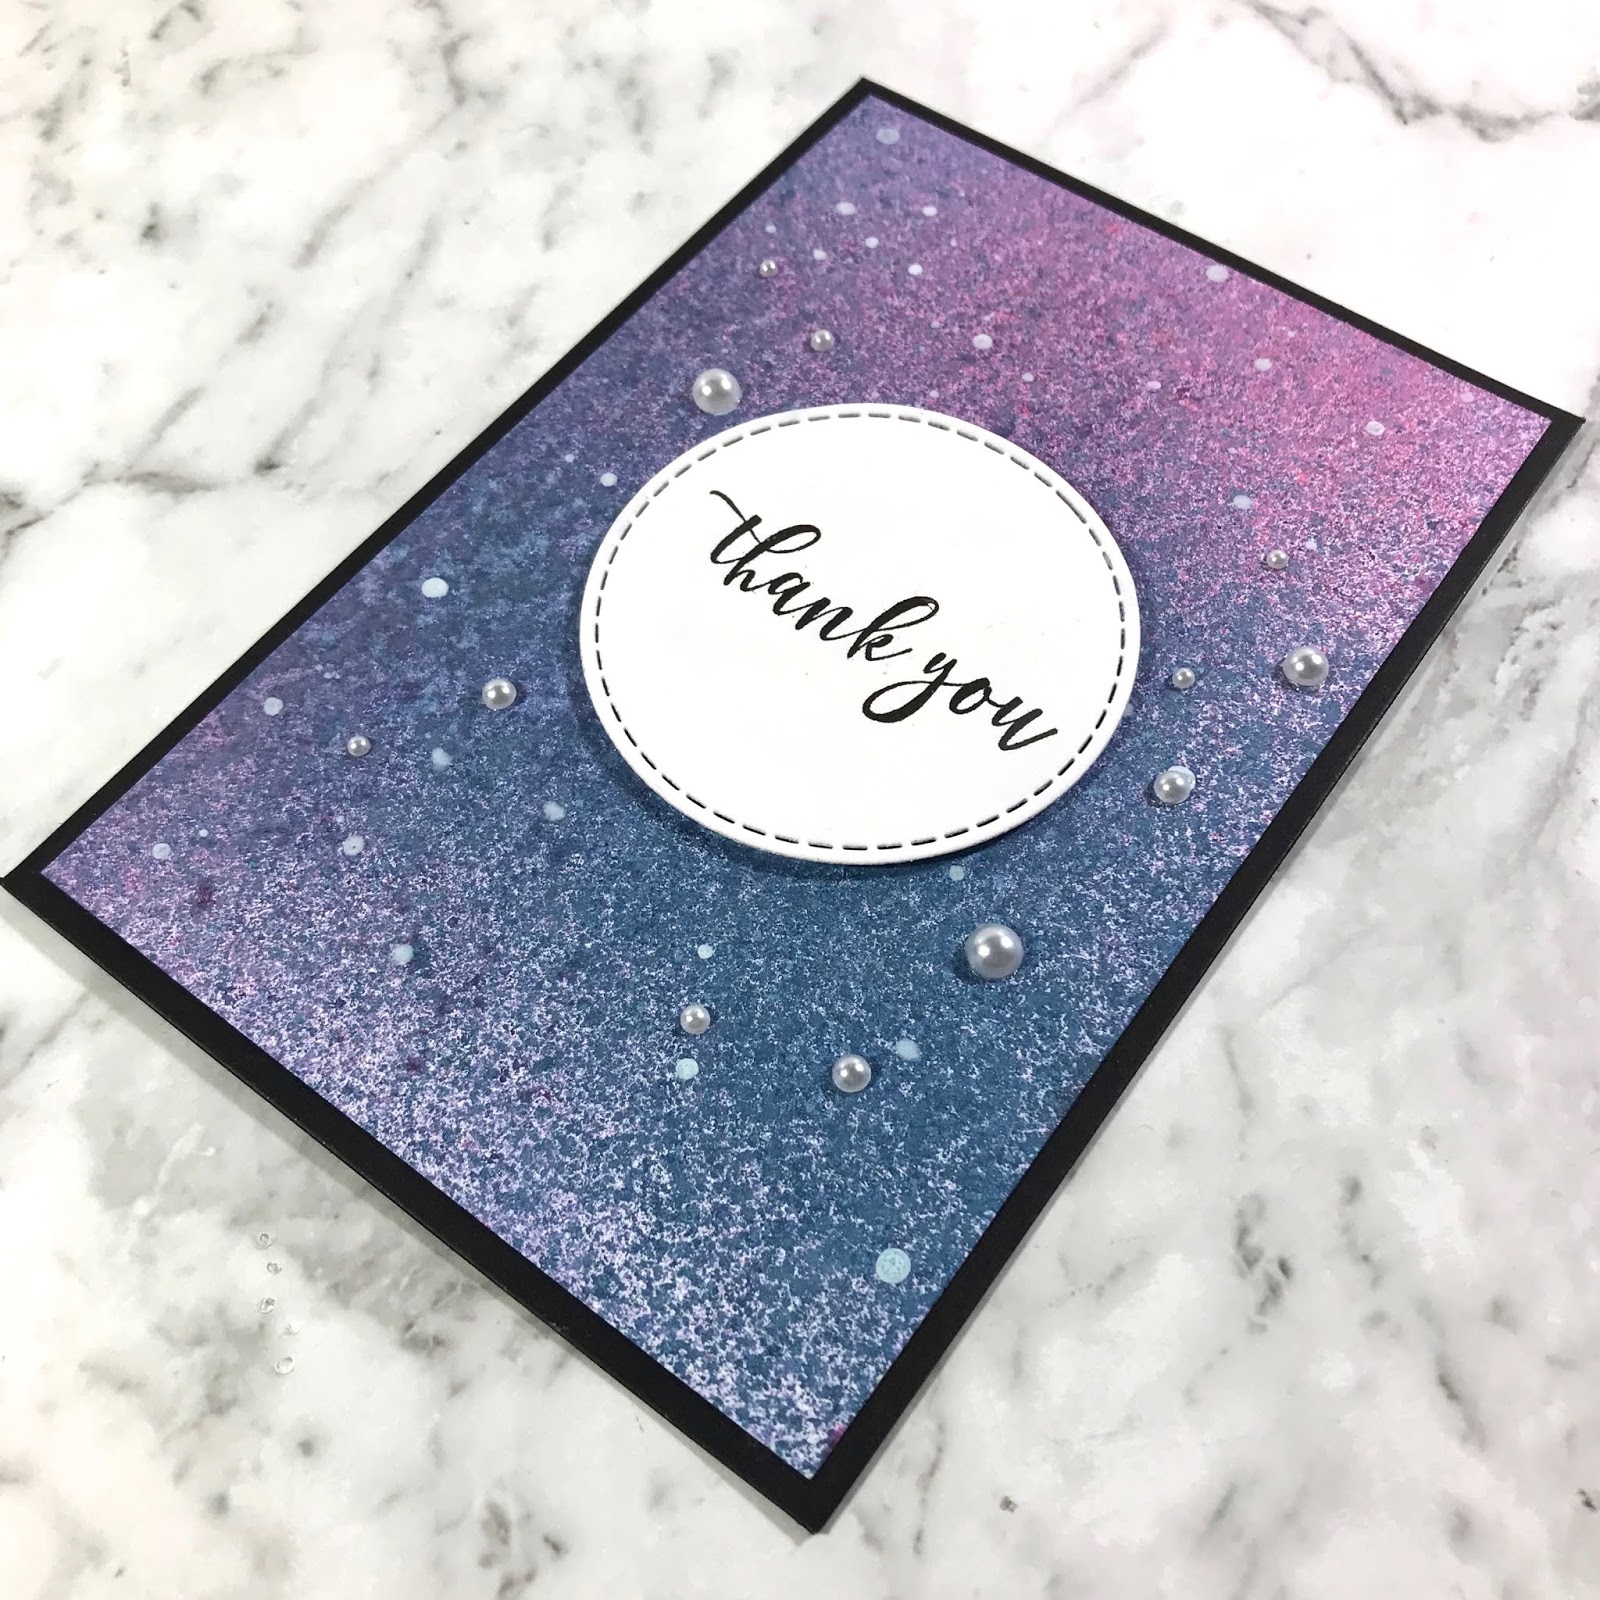
#galaxy #mists #space Hi everyone! So the last month has been a very stressful and intense time (probably the most stressful in my uni life so far), but I have finally submitted my honours thesis! Yay! So I can get back to papercrafting guilt free! So I'm making some thank you cards for some of the people that got me through this stressful year, and given that they do astrophysics I thought I'd make them 'galaxy' themed! :) I used a 12 x 12 piece of white cardstock and sprayed it with different coloured iridescent mists (blue, teal, pink and purple) and let this dry for about 15 minutes. Then I mixed some white paint and white iridescent mist and flicked dots of this mixture onto the same piece of cardstock to look like stars! I let this cardstock sit for a few hours to make sure the white dots were dry. The next step was to prepare all the pieces needed for the card. I used black 4 1/8 x 6 inch notecards for the base of the cards. Next, I die-cut some stitc...

'A heartfelt thank you' - Explosion Box

Image
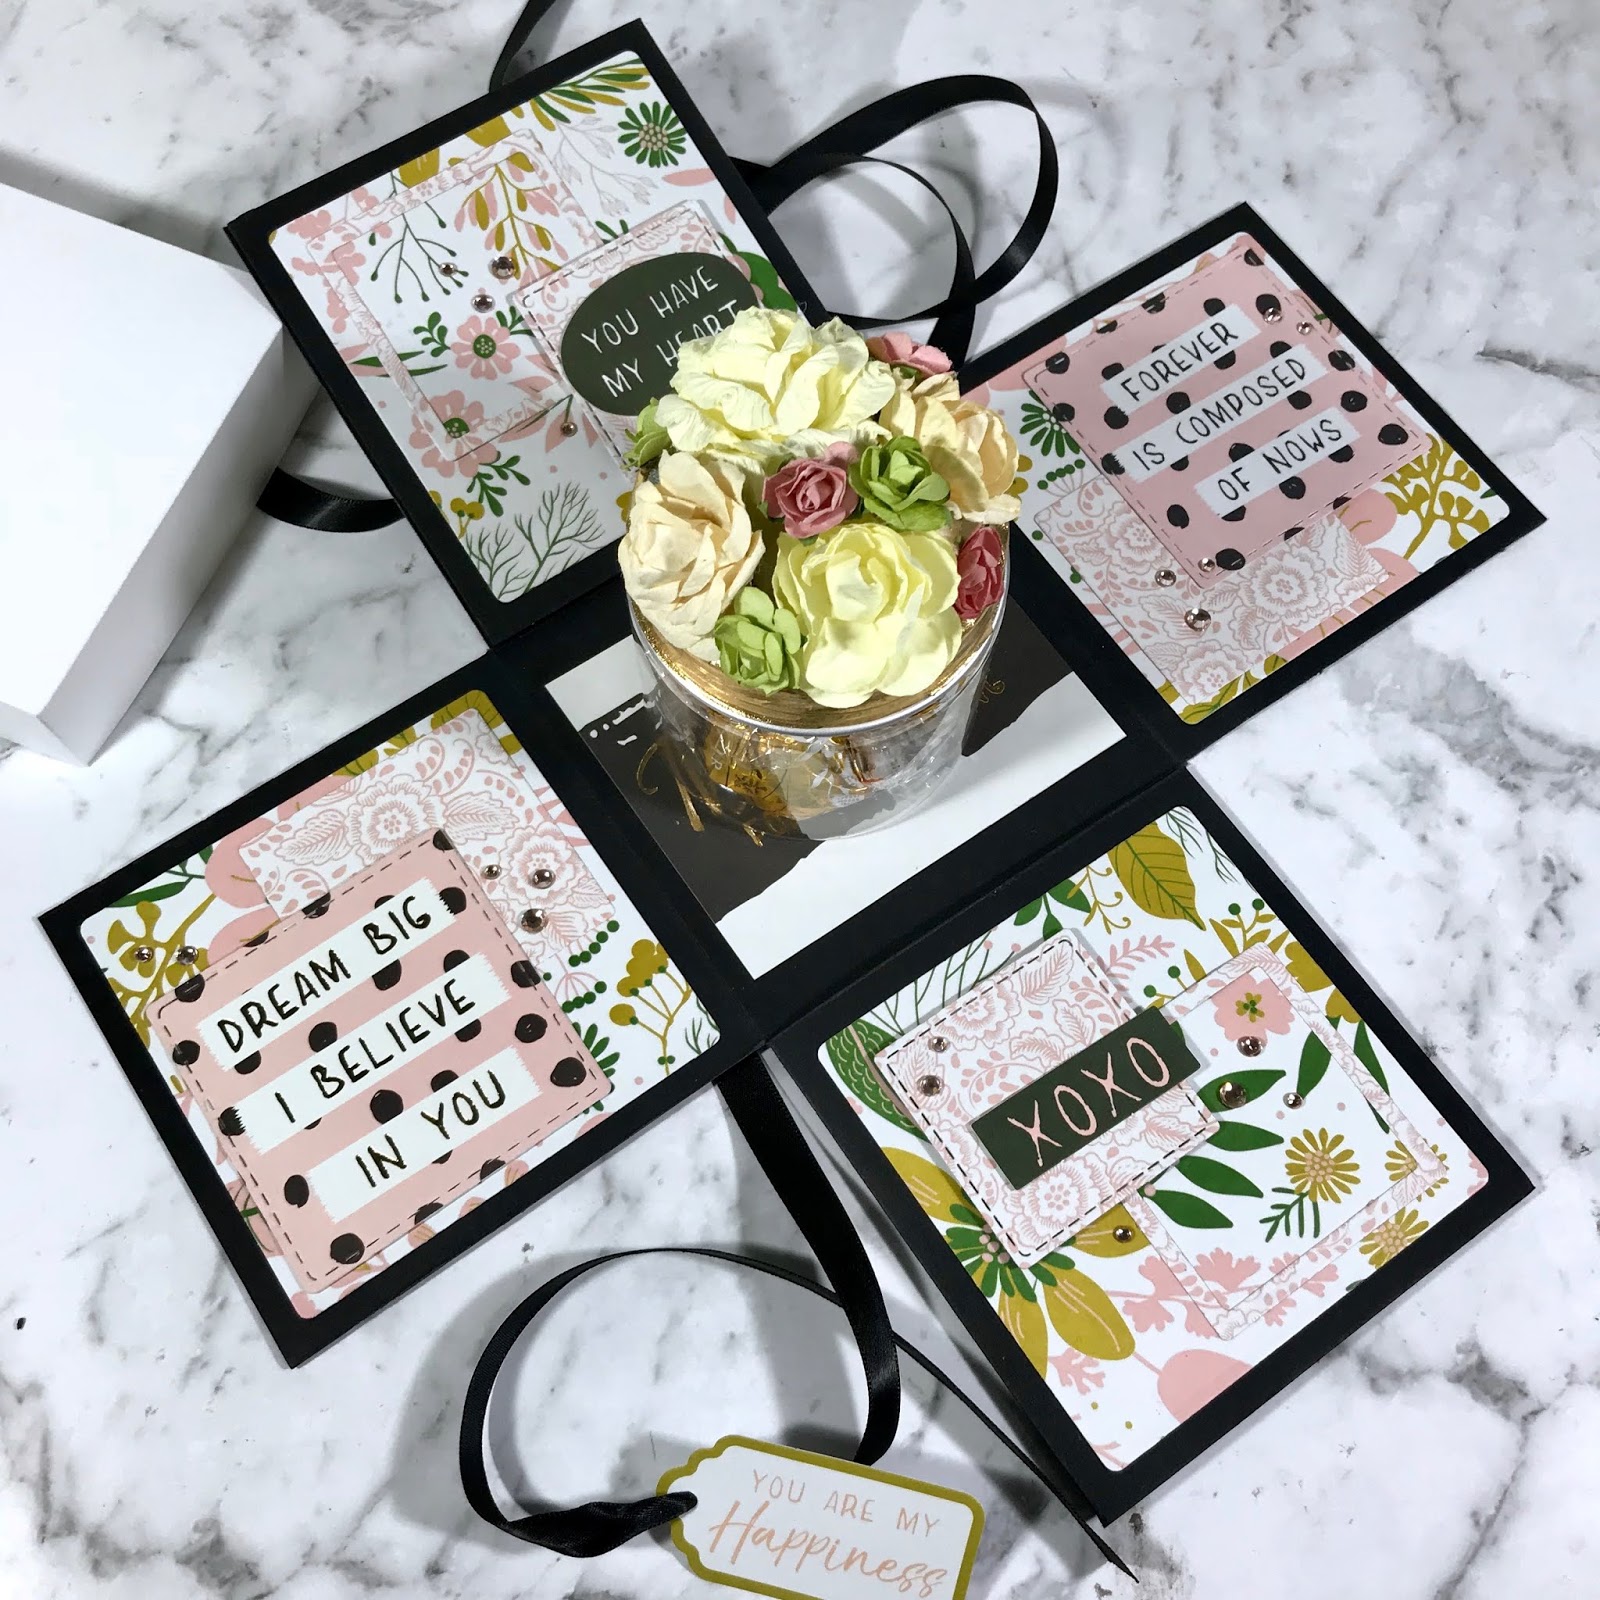
#thank you #flowers #fleur Hey papercrafters! I haven't made an explosion box in a while, and I've been wanting to work with Kaisercraft's 'Fleur' collection for a few months now, so here's a project that combines the two! I am more comfortable working with darker colours, so this was a bit of a challenge to work on :) The structure of this explosion box is different to the basic  4x4 inch explosion box  I usually make , there is only one layer (the layer which has 4 x 4 inch panels) and only two of the corners pieces have been cut out. Make sure you cut out the corners that are opposite each other as shown below. Then I cut one edge of the remaining corner panels to create a flap as shown below. The next thing I did was add some magnets to make sure these flaps snap shut. I used a thin magnet sheet that has adhesive on the back and punched out some hearts. Then I added them to the edges of the flaps as shown below. This is the interior of the box. ...