Broken glass card - tutorial
#scraps #patterned paper #broken glass
Hello papercrafters, so this is a fun way to make a 'broken glass' card since we are going to make it using out paper scraps! I used a variety of different papers that were leftovers from past projects (I have a large tub full of scraps) and this is a great card to make to use them up!

First things first, gather all your scraps and select 4-5 different patterns of paper. Then cut them up into random shapes.

Next step is to get yourself a template to arrange you shards. I used a piece of cardstock that is 5 7/8 x 4 inches. I will eventually place these shards onto a 6 1/8 x 4 1/4 notecard, this will leave a border of 1/8 inch around the shards. Now you can arrange the shards on your template how you like (I like to start from the centre. Having at least 4 different styles allows you to arrange the pieces such that you don't have the same patterned paper shard next to each other. Make sure to temporarily adhere these shards to your template (you can use a temporary adhesive or blu tack).

Once you have placed the shards of patterned paper to cover the template, cut the excess paper over the edges of the template. (Keep the scraps! You can use them for another card!) At this stage, you should take a photo of your arrangement. This is important! Remove the shards from the template and add them to a double-sided sticky sheet.
Now get a 6 1/8 x 4 1/4 notecard and place the template on top. Making sure the template is centred on the card draw some dots on the notecard where the corners of the template are, this will act as a guide for placing the shards on the card.

Carefully cut out all the pieces from the sticky sheet and arrange them as before next to your notecard, you can do this since you have taken a photo of it! If you didn't, then I guess you'll have a puzzle to solve, and I speak from experience, it may take a bit of time! XD
Now at this stage, you could add some foam to each piece to add dimension to the card, but for this example, I left it as it is. Next, add the corner pieces (pull off the release paper and adhere) to where you have drawn the dots. Then add the pieces that line the edges, and then the centre.


I also made another card using some scraps from an earlier project I've posted on this blog. But for this card, I adhered some black foam to each piece to give the card some dimension.


And above is just a small selection of my scrap papers! I hope this project inspires you to create cards with the scraps you have. I really enjoyed making these cards, and I'll definitely be making more cards with my scraps down the road.
Happy papercrafting!
Shanika :)
Hello papercrafters, so this is a fun way to make a 'broken glass' card since we are going to make it using out paper scraps! I used a variety of different papers that were leftovers from past projects (I have a large tub full of scraps) and this is a great card to make to use them up!
First things first, gather all your scraps and select 4-5 different patterns of paper. Then cut them up into random shapes.

Next step is to get yourself a template to arrange you shards. I used a piece of cardstock that is 5 7/8 x 4 inches. I will eventually place these shards onto a 6 1/8 x 4 1/4 notecard, this will leave a border of 1/8 inch around the shards. Now you can arrange the shards on your template how you like (I like to start from the centre. Having at least 4 different styles allows you to arrange the pieces such that you don't have the same patterned paper shard next to each other. Make sure to temporarily adhere these shards to your template (you can use a temporary adhesive or blu tack).

Once you have placed the shards of patterned paper to cover the template, cut the excess paper over the edges of the template. (Keep the scraps! You can use them for another card!) At this stage, you should take a photo of your arrangement. This is important! Remove the shards from the template and add them to a double-sided sticky sheet.
Now get a 6 1/8 x 4 1/4 notecard and place the template on top. Making sure the template is centred on the card draw some dots on the notecard where the corners of the template are, this will act as a guide for placing the shards on the card.
Carefully cut out all the pieces from the sticky sheet and arrange them as before next to your notecard, you can do this since you have taken a photo of it! If you didn't, then I guess you'll have a puzzle to solve, and I speak from experience, it may take a bit of time! XD
Now at this stage, you could add some foam to each piece to add dimension to the card, but for this example, I left it as it is. Next, add the corner pieces (pull off the release paper and adhere) to where you have drawn the dots. Then add the pieces that line the edges, and then the centre.
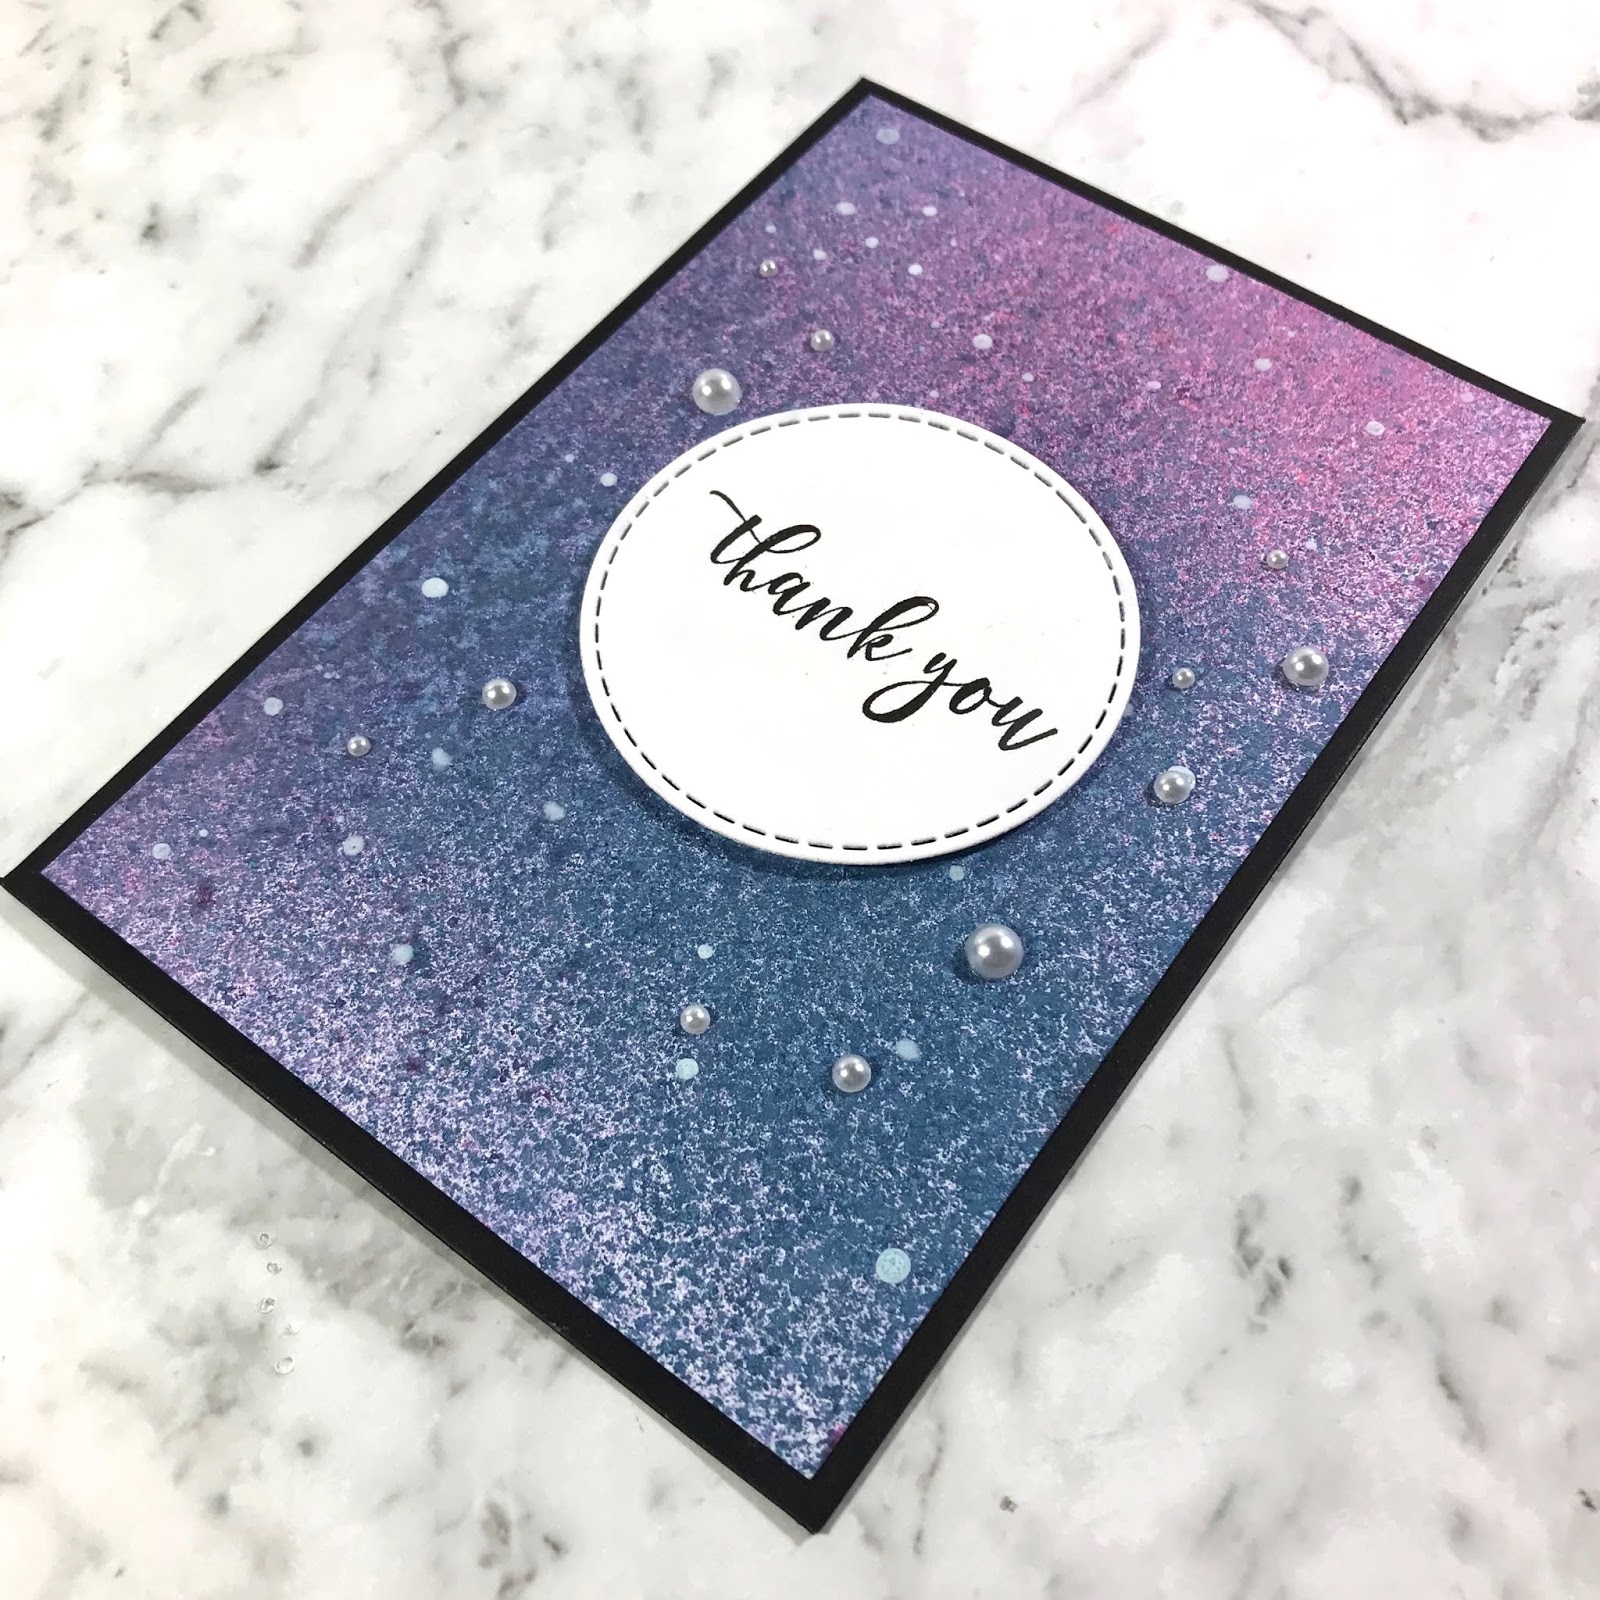
And done! You have a broken glass effect card! The great thing about these cards is that each card you make using this technique will look different to each other since the shards and arrangements are different each time! To finish, I decided to add a very simple sentiment using some foam tape.

I also made another card using some scraps from an earlier project I've posted on this blog. But for this card, I adhered some black foam to each piece to give the card some dimension.
Materials used: Cardstock - black, ivory (KC) | Patterned paper - various (KC), (TCS) | Collectables - sea breeze (KC) | Temporary adhesive | Double sided sticky sheet | Foam tape
KC - Kaisercraft, TCS - The Craft Stall (The Reject Shop)
And above is just a small selection of my scrap papers! I hope this project inspires you to create cards with the scraps you have. I really enjoyed making these cards, and I'll definitely be making more cards with my scraps down the road.
Happy papercrafting!
Shanika :)


Comments
Post a Comment