Posts

Showing posts from May, 2017

'Thank you for your friendship' - layout

Image
#best friend #cherry tree lane #scrapbook layout So up until this point I have been a card/explosion box making papercrafter... but now I think it is time to expand my horizons and dive into the world of scrapbooking, so here is my very first scrapbook layout! :) Lately I've seen some amazing scrapbook layouts that are just so inspiring so I decided to give scrapbooking a go! I am very new to this but I am determined to make my own scrapbook. I actually ended up making this because my best friend suggested it. She saw the papers and collectables from Kaisercraft's Cherry tree lane collection, she selected a few of them and demanded that I use them for her and only for her! XD I decided to layer two of the same photo slightly offset, one in colour and one in sepia, I thought it would add some interest to the layout. I really wanted to highlight the blue tones in the photo so I picked embellishments and paper that had little hints of blue. I ripped a few papers to c
'Shine bright like the stars' - card

Image
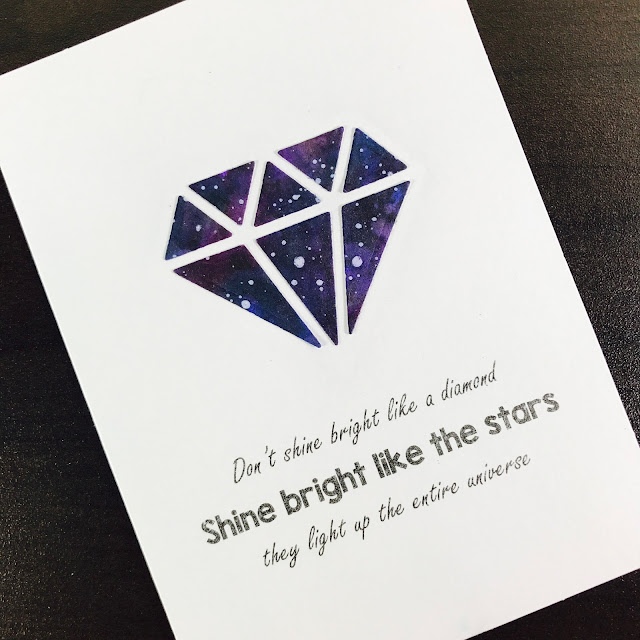
#motivation #diamond #galaxy You know they say shine bright like a diamond, well I prefer shine bright like the stars, because when you think about, diamonds need some light to shine, whereas stars shine brightly all on their own! In fact, they light up the entire universe! This card is a personal favourite of mine, yes, ok, it may have something to do with the fact I love astrophysics... but who doesn't love galaxies! Also it is quite easy to make a bunch of these in one go! I cheated a little with the note cards this time. I bought a note card pack from Kmart and printed the sentiment onto the note card (if you have a laser printer you could do some foiling for the sentiments). Of course you could write the sentiment onto the card directly, but I don't have the neatest handwriting so printing my sentiment was the best way to go. For the galaxy diamond I used watercolour paints, shimmer mists and white paint. I first painted splotches of navy blue and purple

'Flowers for mum' - card

Image
#mother's day #flowers #rose gold Mother's Day is almost here, so I thought I'd share a card that is similar to the one I'm going to give to my mum, hopefully she doesn't read this post before then... I saw this gorgeous 12 x 12 paper with rose gold flower details in Kaisercraft the other day and I just needed to use it on this card!  I used 5 x 5 inch piece for the background and fussy cut a few details for the centre of the card  (I used a white 5 1/4 x 5 1/4 inch note card for the card base).  I wanted to keep it simple and elegant by limiting the colours I used - rose gold, lilac and white. I die-cut two stitched squares (one a little larger than the other), and then I die-cut a heart from the smaller square. I wanted the heart to be subtle compared to the other pieces in the centre, so I kept the squares white-on-white. I adhered the smaller square to the centre of the larger square using some foam tape to add some dimension. Along with the fussy

'Just to say thank you' - card

Image
#thank you #patterned paper #die-cut inlay Hey everyone! So here is a thank you card that you can easily customise. It is very easy to make a bunch of these in one go so you will never run out of cards 'just to say thank you' :) You can use the negative space of one card to make another card, which is exactly what I decided to do. I used a 5.5 x 4 inch white top folding note card for the base of both cards. Using a patterned paper of your choice, cut it down to 5 1/4 x 3 3/4 inch piece and adhere it to the front. I used a piece of paper from a paper pad I bought from the reject shop. Yes, the reject shop. They have a few paper pads by 'The Craft Stall' that have some very pretty patterns. For the sentiment I first die-cut a frame from both white and black card stock using a project life die. Then I die-cut the 'Thank you' from the middle of these frames; make sure not lose any of the pieces.  Tip : to make sure you don't lose any of the s