'A heartfelt thank you' - Explosion Box
#thank you #flowers #fleur
Hey papercrafters! I haven't made an explosion box in a while, and I've been wanting to work with Kaisercraft's 'Fleur' collection for a few months now, so here's a project that combines the two! I am more comfortable working with darker colours, so this was a bit of a challenge to work on :)
The structure of this explosion box is different to the basic 4x4 inch explosion box I usually make, there is only one layer (the layer which has 4 x 4 inch panels) and only two of the corners pieces have been cut out. Make sure you cut out the corners that are opposite each other as shown below. Then I cut one edge of the remaining corner panels to create a flap as shown below.

The next thing I did was add some magnets to make sure these flaps snap shut. I used a thin magnet sheet that has adhesive on the back and punched out some hearts. Then I added them to the edges of the flaps as shown below. This is the interior of the box.


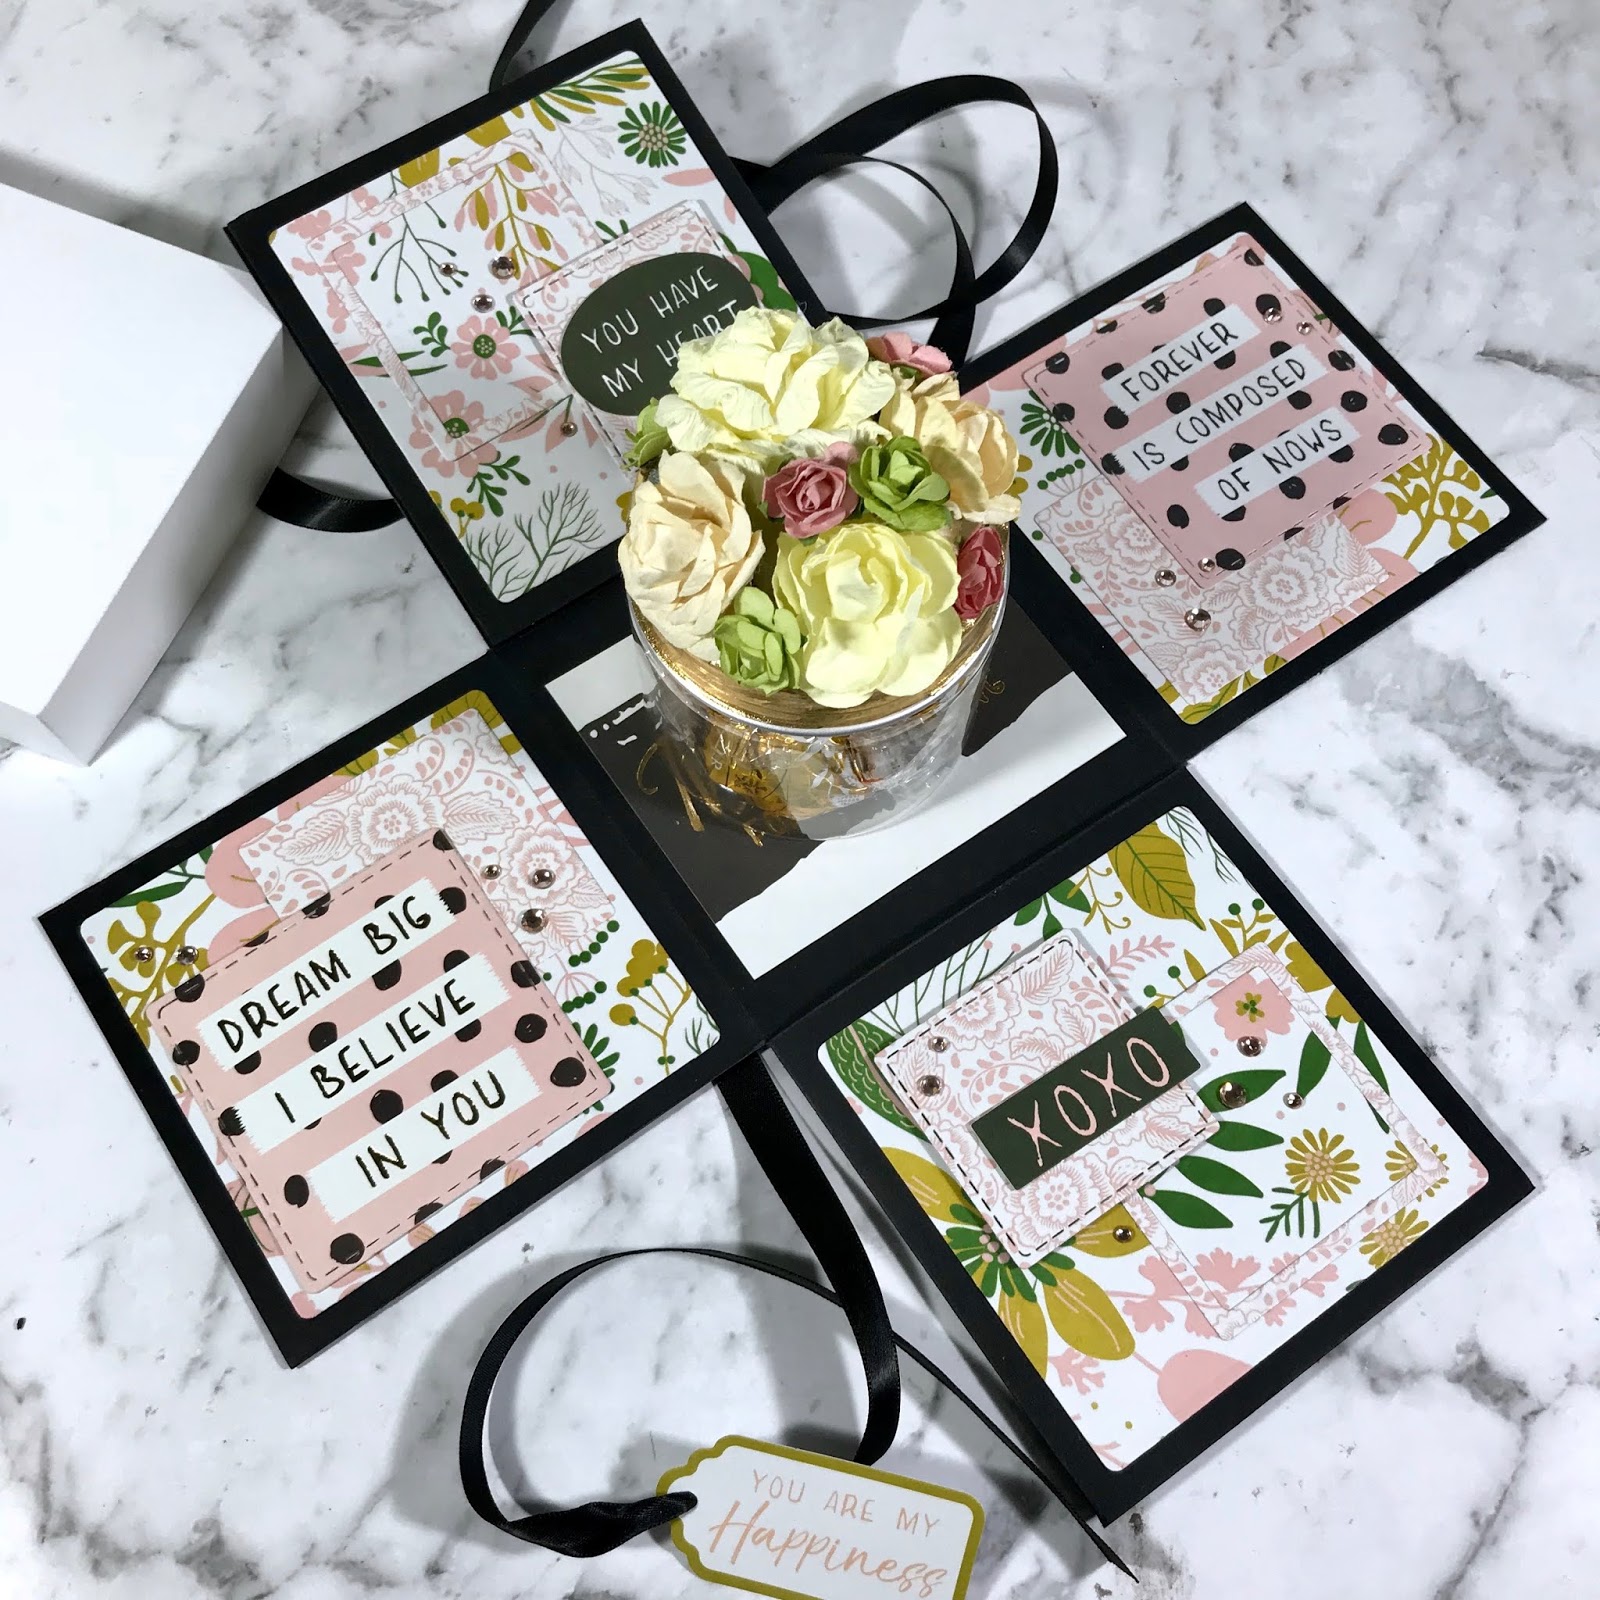
I added some double-sided tape to just the bottom of the frames, this is so I can slip in photos later. Opening up the flaps of the explosion box I adhered a frame to each panel. To decorate the flaps I added some collectables.


To finish I added some rhinestones to all the panels on this explosion box. I didn't add any embellishments to the lid of this box since I wanted to tie up the box with a ribbon.


I also added an extra little present to this explosion box. I used a plastic container with a screw on lid and added some gold washi tape around the edge. Then I added some paper flowers to the lid using some hot glue. Then I put some chocolates in the container (I selected chocolates that had gold wrappers to match the explosion box :)

Materials used: Cardstock - black, white | 'Fleur' collection (KC) - collectables, 12 x 12 patterned paper {hello}, {heartfelt}, {XOXO}, {Foil - You are loved} | Rhinestones - champange (KC) | Magnet sheet | Double-sided tape | Foam tape

I had a lot of fun creating this project and working with some brighter colours! I hope this project inspires you to create your own explosion box.
Happy papercrafting!
Shanika :)
Hey papercrafters! I haven't made an explosion box in a while, and I've been wanting to work with Kaisercraft's 'Fleur' collection for a few months now, so here's a project that combines the two! I am more comfortable working with darker colours, so this was a bit of a challenge to work on :)
The structure of this explosion box is different to the basic 4x4 inch explosion box I usually make, there is only one layer (the layer which has 4 x 4 inch panels) and only two of the corners pieces have been cut out. Make sure you cut out the corners that are opposite each other as shown below. Then I cut one edge of the remaining corner panels to create a flap as shown below.
The next thing I did was add some magnets to make sure these flaps snap shut. I used a thin magnet sheet that has adhesive on the back and punched out some hearts. Then I added them to the edges of the flaps as shown below. This is the interior of the box.
Next, I made the lid, very similar to the way I've described here, the only difference is that this time I wanted the height of the lid to be 1 inch rather than 1 1/2 inch. For this lid, you will need a 6 1/16 x 6 1/16 inch square and will need to instead score at 1 inch from the edges.
Next, I cut out some sentiments I wanted to use in the box as well as some patterned paper squares to add to the outside and inside of the box. I used a square die to cut these squares, but you can always just cut them out by hand. These patterned paper squares are approximately 3 1/2 x 3 1/2 inches.
I also cut out some additional shapes to create some frames for some photos. To make the photo frames I used a rectangular die to cut out for rectangles and then cut out a square from all four. Then for two of the cut-out squares, I cut out a smaller square using a stitched die.
I added some double-sided tape to just the bottom of the frames, this is so I can slip in photos later. Opening up the flaps of the explosion box I adhered a frame to each panel. To decorate the flaps I added some collectables.


To finish I added some rhinestones to all the panels on this explosion box. I didn't add any embellishments to the lid of this box since I wanted to tie up the box with a ribbon.
I also added an extra little present to this explosion box. I used a plastic container with a screw on lid and added some gold washi tape around the edge. Then I added some paper flowers to the lid using some hot glue. Then I put some chocolates in the container (I selected chocolates that had gold wrappers to match the explosion box :)
Materials used: Cardstock - black, white | 'Fleur' collection (KC) - collectables, 12 x 12 patterned paper {hello}, {heartfelt}, {XOXO}, {Foil - You are loved} | Rhinestones - champange (KC) | Magnet sheet | Double-sided tape | Foam tape
I had a lot of fun creating this project and working with some brighter colours! I hope this project inspires you to create your own explosion box.
Happy papercrafting!
Shanika :)


Comments
Post a Comment