'To the Moon & back' - shadow box card
#moon #astronauts #apollo50th


Now we want to make the picture of the Earth. Take the small black circle and paint half of it with white paint, then add some blue and green splotches over the white. Adhere this circle to the black panel of the card in the position shown in the figure blow.

Now you can complete Step 4 from the tutorial linked here (I skipped step 5). After following these steps you should have a card that looks like the following when opened.

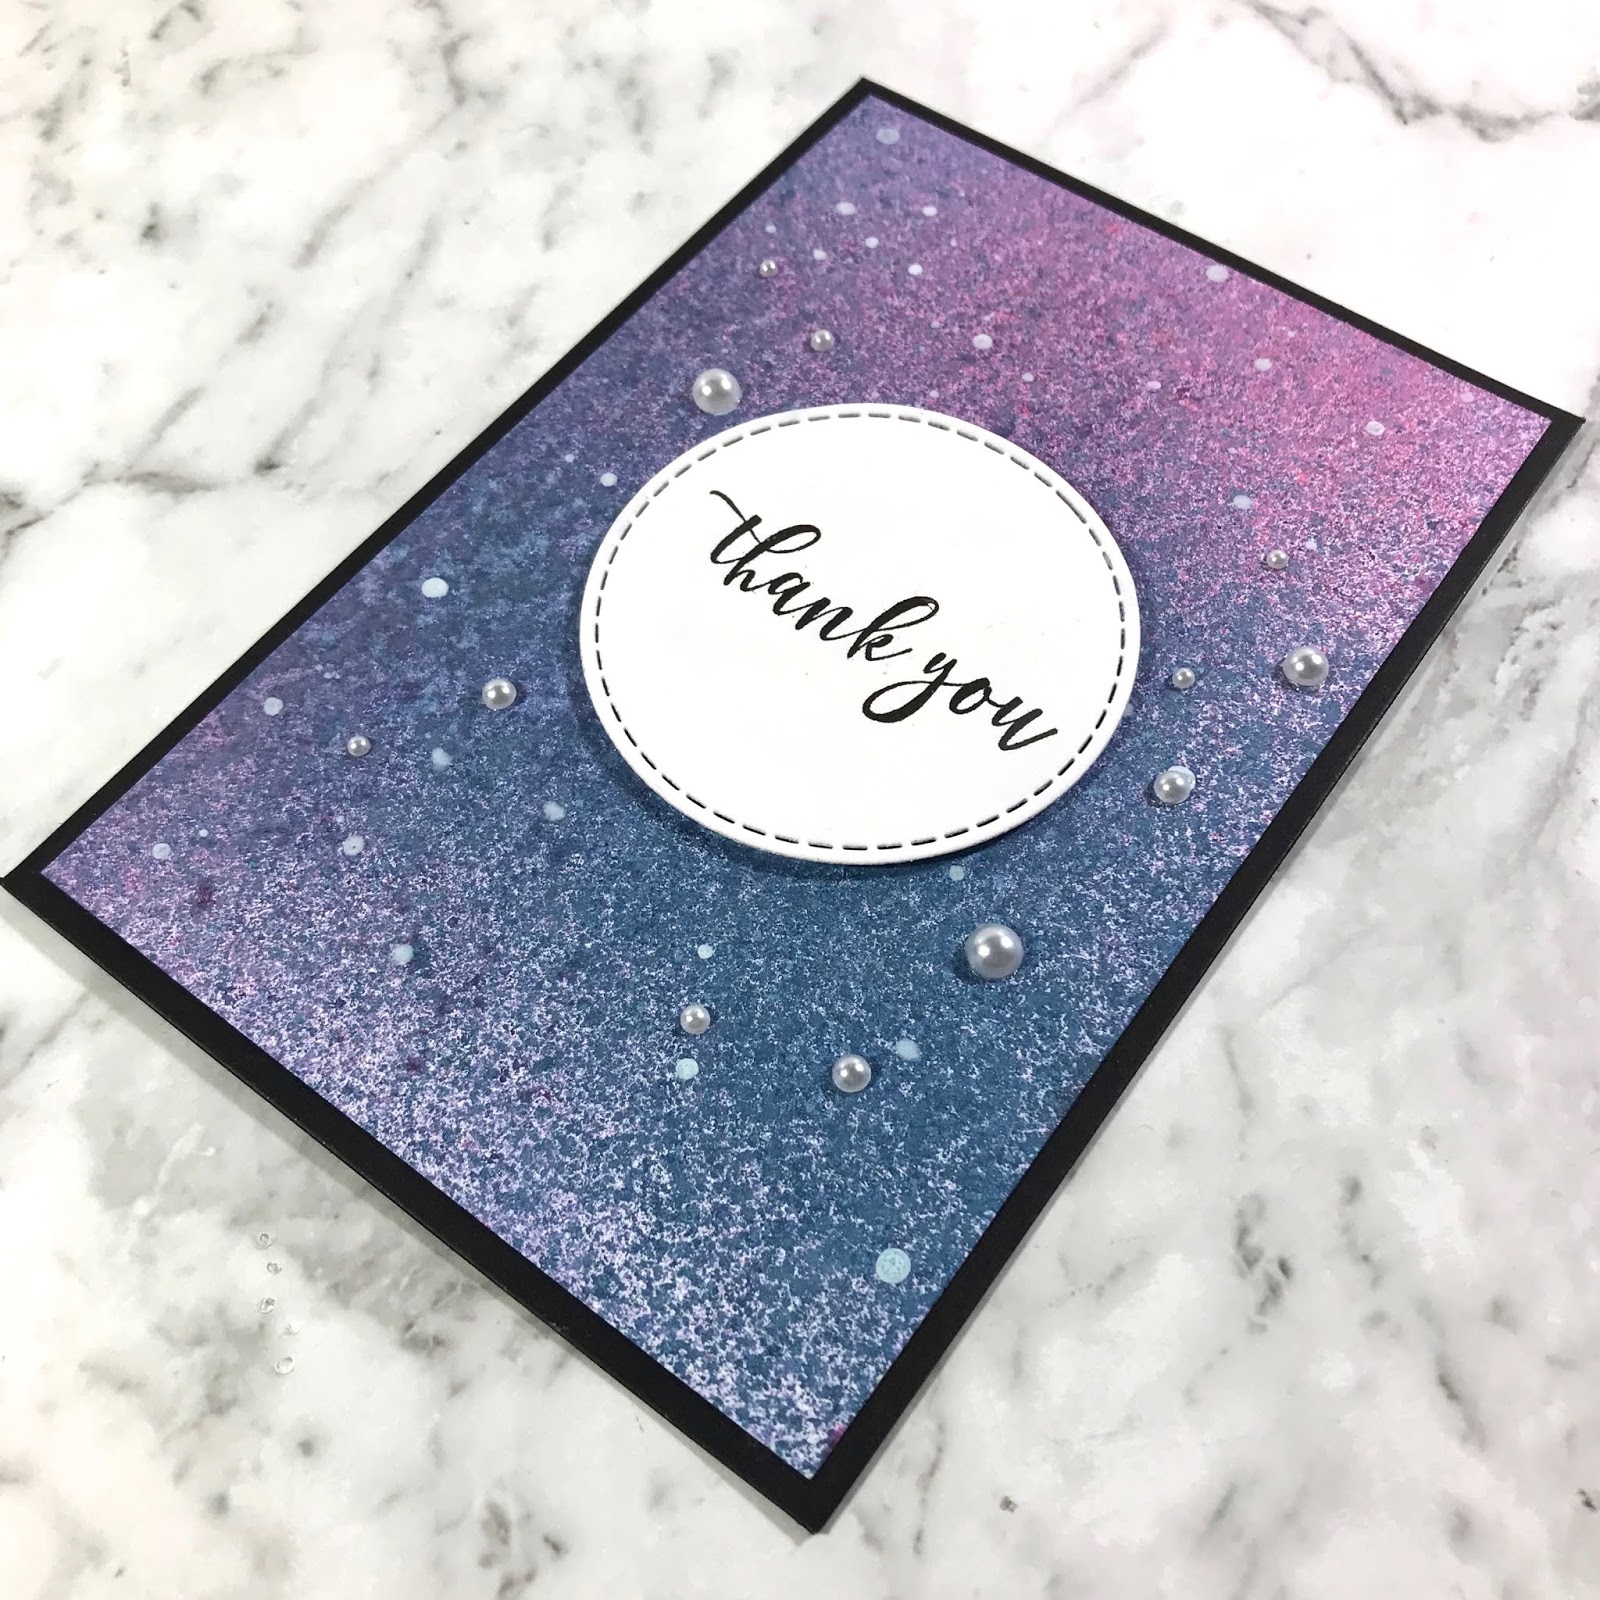
Now for the final touches! To decorate the front of the card I used a 5 7/8 x 4 inch piece of patterned paper from Kaisercraft's 'Stargazer' collection. I die-cut a stitched circle out of some grey cardstock and sprayed the circle with white shimmer mist. Next a took a sentiment for the 'Stargazer' collectables that said 'I love you to the moon & back' and trimmed it down to say 'to the moon & back'. I also used some clouds from the collectables.


Lastly, I wanted to add a detail/sentiment to say 'Apollo11' and 'Apollo50th' so I printed these on a strip of paper as hashtags and adhered it along the edge of the card as shown in the first image.

Guess what everyone?! It's the 50th anniversary of the Moon landing! I'm sure many are reliving the epic moments of the first steps on the Moon (sadly I didn't exist back then, but I can still celebrate!) Here's to astronauts Neil Armstrong, Buzz Aldrin and Michael Collins, the crew of Apollo 11 :)
***
So how do I go about celebrating? By making a card of course! This card is supposed to resemble the following photo, most epic anti-selfie ever taken! The picture is of the Moon, lunar module and the Earth, the only person not in the picture is the person who took the photo, Michael Collins!
For the base of the card I used two 6 1/8 x 4 1/4 inch notecards. This card is going to be a shadow box card! I have a tutorial on how to create this card here. Make sure to check out my instagram to see the card pop-up action. We'll be making the same card as the tutorial, but with slight modifications and additions, complete steps 1-3 and return to this post. The changes/additions are as follows:
Step 1:
- Use a black notecard for Notecard #1 and a white notecard for Notecard #2.
- Die-cut a circle instead of a hexagon.
- Print off image of lunar module and cut-out
- Cut a small circle out of black cardstock approx 3/4 inch in diameter

Step 2:
- No decoration to Panel #2 of Notecard #2, yet...
Step 3:
- Same as tutorial.

So those were some minor changes, now here is where the process in the tutorial deviates a bit.
We want to add another layer in this shadow box to resemble the surface of the Moon. Cut a grey piece of cardstock down to 4 1/4 x 4 inches. You want to keep the width of 4 1/4 inches, but you need to cut the top of the cardstock into a curve, this will make the height if the grey piece shorter than 4 inches.
Next, score a 1/4 inch on each side of the width of the grey piece of cardstock. Now the cardstock piece should have two folds, with segments that are 1/4 inch, 3 3/4 inches and 1/4 inch.
 |
| Earth's Moon - Apollo 11 - Credit: NASA |
For the base of the card I used two 6 1/8 x 4 1/4 inch notecards. This card is going to be a shadow box card! I have a tutorial on how to create this card here. Make sure to check out my instagram to see the card pop-up action. We'll be making the same card as the tutorial, but with slight modifications and additions, complete steps 1-3 and return to this post. The changes/additions are as follows:
Step 1:
- Use a black notecard for Notecard #1 and a white notecard for Notecard #2.
- Die-cut a circle instead of a hexagon.
- Print off image of lunar module and cut-out
- Cut a small circle out of black cardstock approx 3/4 inch in diameter
Step 2:
- No decoration to Panel #2 of Notecard #2, yet...
Step 3:
- Same as tutorial.
So those were some minor changes, now here is where the process in the tutorial deviates a bit.
We want to add another layer in this shadow box to resemble the surface of the Moon. Cut a grey piece of cardstock down to 4 1/4 x 4 inches. You want to keep the width of 4 1/4 inches, but you need to cut the top of the cardstock into a curve, this will make the height if the grey piece shorter than 4 inches.
Next, score a 1/4 inch on each side of the width of the grey piece of cardstock. Now the cardstock piece should have two folds, with segments that are 1/4 inch, 3 3/4 inches and 1/4 inch.
Refer to the below image for the next steps. Flip the grey cardstock piece so that the weave pattern is face-up, add some doubled-sided tape to the left edge (top left image). Next flip over again, remove the release paper from the side with the weave pattern and adhere to the edge where the black notecard meets the white notecard (top right image), then add some double-sided tape to the left edge of the back of the piece of cardstock.
Now, adhere the acetate piece to the circle window and add the lunar module to the centre of the grey piece of cardstock using some foam tape.

Remove the remaining release paper of the grey piece of cardstock and fold over the white part of the notecard at the point where it meets the grey piece of cardstock (bottom right image).
Now we want to make the picture of the Earth. Take the small black circle and paint half of it with white paint, then add some blue and green splotches over the white. Adhere this circle to the black panel of the card in the position shown in the figure blow.

Now you can complete Step 4 from the tutorial linked here (I skipped step 5). After following these steps you should have a card that looks like the following when opened.
Now for the final touches! To decorate the front of the card I used a 5 7/8 x 4 inch piece of patterned paper from Kaisercraft's 'Stargazer' collection. I die-cut a stitched circle out of some grey cardstock and sprayed the circle with white shimmer mist. Next a took a sentiment for the 'Stargazer' collectables that said 'I love you to the moon & back' and trimmed it down to say 'to the moon & back'. I also used some clouds from the collectables.
Refer to the below image for the next few steps. I adhered the patterned piece of paper to centre of the front panel. Then I adhered the stitched circle to the card (offset, closer to the top of the card). I adhered the clouds on top of the circle and then added the sentiment just under the circle.
Lastly, I wanted to add a detail/sentiment to say 'Apollo11' and 'Apollo50th' so I printed these on a strip of paper as hashtags and adhered it along the edge of the card as shown in the first image.
***
Materials used:
Patterned paper - 6.5 inch Paper Pad (KC) {from 'Stargazer' collection} | Cardstock - Grey | Embellishments - Collectables: 'Stargazer' collection (KC) | Mists - White (KC) | Paints - White, Blue, Green | Adhesives - Double sided tape & Foam tape | Tools - Dies: Stitched circle (KC), Paper Trimmer & Scissors
KC - Kaisercraft
***
It's an incredible feat to land on another world; it's just amazing to think of humankind exploring other worlds.
Next stop? Mars! :)
Next stop? Mars! :)
Happy papercrafting and happy 50th anniversary to Apollo 11!
Shanika :)


Comments
Post a Comment