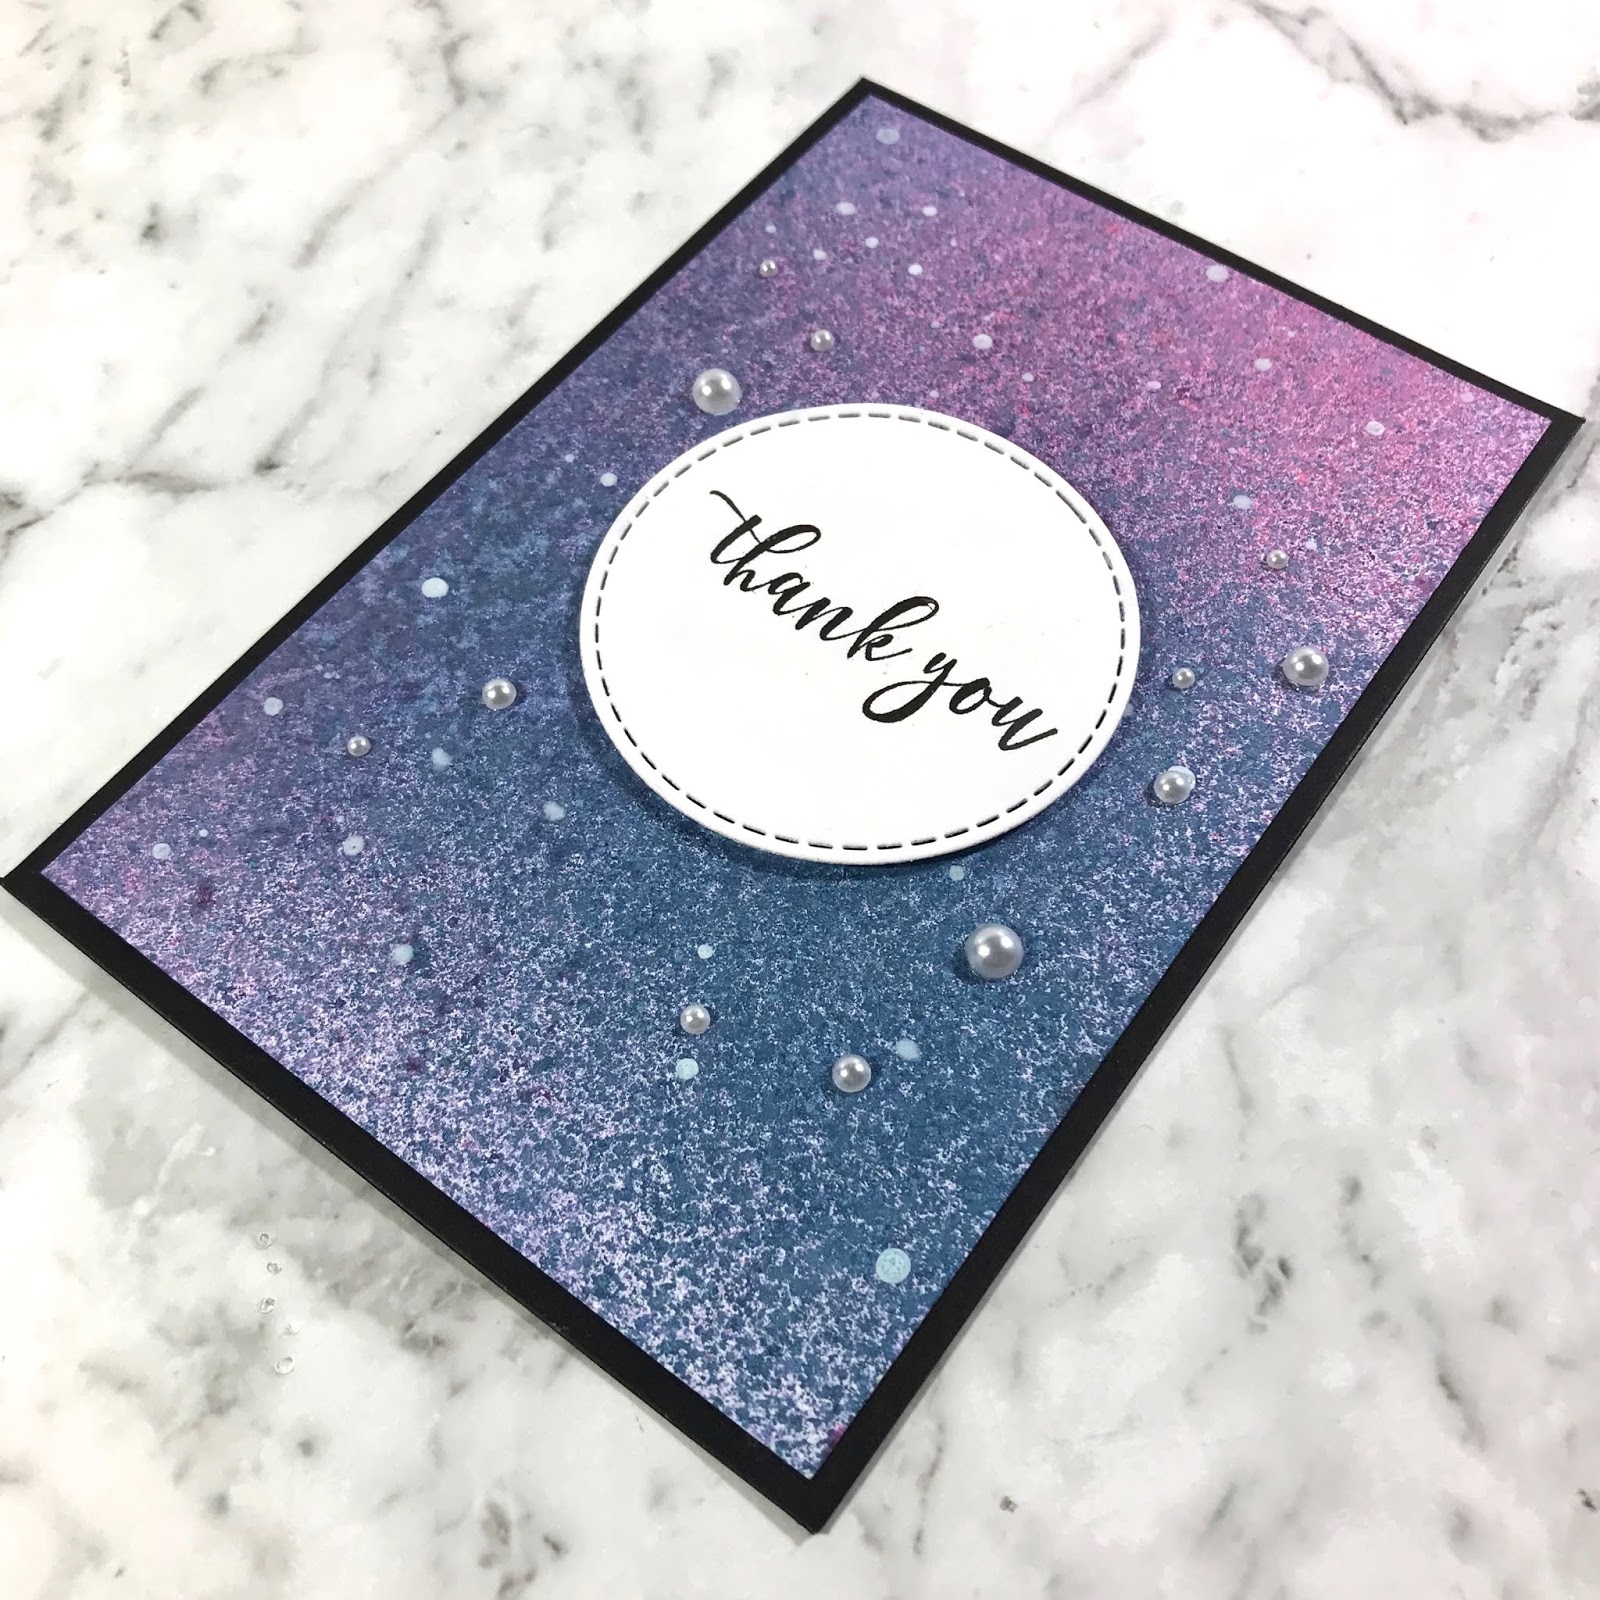
'To know you is to love you' - card
#NativeBreeze #FauxStitching #AustralianFlora
Hi all, here's my first papercraft post for 2020. Yes, it's already pretty much 1/4 of the way through the year, but better late than never! So on a recent trip to Kaisercraft, I saw the 'Native Breeze' collection and thought I just had to have it; it's gorgeous! It really showcases the beauty of Australian flora! I only used one patterned paper sheet of the project, but I definitely will be scrapbooking with this paper (hopefully soon)!
First I cut out an 8 1/4 x 5 7/8 inch piece of black cardstock, scored along the middle at 4 1/8 inches and folded it in half to create a notecard that is 5 7/8 x 4 1/8 inches. Then I cut a white piece of cardstock to 5 7/8 x 3 3/4 inches, this will become the front panel of the card. Finally cut out a piece of patterned paper to 5 7/8 x 2 inches.
I really loved making this card, a bit simplistic but I think keeping it simple let's the patterned paper shine! It also allowed me to use dies that I had not used in a while and/or had received in a Kaisercraft mystery box and was yet to use! Hope this card inspires you to create! :)
Hi all, here's my first papercraft post for 2020. Yes, it's already pretty much 1/4 of the way through the year, but better late than never! So on a recent trip to Kaisercraft, I saw the 'Native Breeze' collection and thought I just had to have it; it's gorgeous! It really showcases the beauty of Australian flora! I only used one patterned paper sheet of the project, but I definitely will be scrapbooking with this paper (hopefully soon)!
***
First I cut out an 8 1/4 x 5 7/8 inch piece of black cardstock, scored along the middle at 4 1/8 inches and folded it in half to create a notecard that is 5 7/8 x 4 1/8 inches. Then I cut a white piece of cardstock to 5 7/8 x 3 3/4 inches, this will become the front panel of the card. Finally cut out a piece of patterned paper to 5 7/8 x 2 inches.
Next step; using dies. I used a die-cut a bird sitting on a branch from some white cardstock. Then I created some faux stitching on the long sides of the white cardstock panel using a cross-stitch die as shown in the image below.
The next step is to arrange the pieces on the front of the card, along with the sentiment you want to see what kind of layout you want. I arranged this in my stamping tool with patterned paper strip arranged just under the faux stitching along the top of the white panel. After I was happy with the arrangement I carefully removed everything but the stamp and white cardstock panel. Then I stamped the sentiment using some black pigment ink with the stamping tool.
To assemble the card I cut out a piece of a foam sheet to 5 5/8 x 1 3/4 inches and adhered to the back of the patterned paper strip using some double-sided tape. Next, I adhered this the foam + patterned paper panel to the white panel so that it was aligned just under the faux cross-stitching on the top of the white panel.
Using some PVA glue, I adhered the branch and bird to the patterned paper part. Make sure to only add glue to the parts that will actually be in contact with the patterned paper and also make suree it doesn't cover the sentiment you just stamped!
Then I adhered the white panel to the black notecard using some double-sided tape. To finish I trimmed the edges of the card to remove the parts hanging over the edge of the notecard.
***
Materials used:
Patterned paper - 12 x 12 inch 'Banksia Bouquet' (KC) {from 'Native Breeze' collection} | Cardstock - White, Black (KC) | Inks - Versafine Black | Dies - Stitch borders (KC), Bird branch (KC) | Adhesives - Double-sided tape, PVA Glue | Tools - Paper Trimmer | Other - Foam sheet (KC)
KC - Kaisercraft, AC - American Crafts,
***
I really loved making this card, a bit simplistic but I think keeping it simple let's the patterned paper shine! It also allowed me to use dies that I had not used in a while and/or had received in a Kaisercraft mystery box and was yet to use! Hope this card inspires you to create! :)
Happy papercrafting!
Shanika :)


Comments
Post a Comment